Creating the Key Files and SSL Certificate First off, you’ll need to generate all the files required, to install an SSL certificate. The following describes how to generate and obtain these files. Generate Private Key with Openssl Remember the password you typed when generating the key, you will need this later.
openssl genrsa -des3 -out domain.key 2048Generate a Certificate Signing Request (CSR) Follow all prompts and just skip the last 2 extended questions (challenge password and optional company name).
openssl req -new -sha256 -key domain.key -out domain.csrGet a Free Certificate from StartSSL Head over to https://www.startssl.com/ authenticate if you already have an account or sign-up if none. Validate the domain you are installing the ssl for:
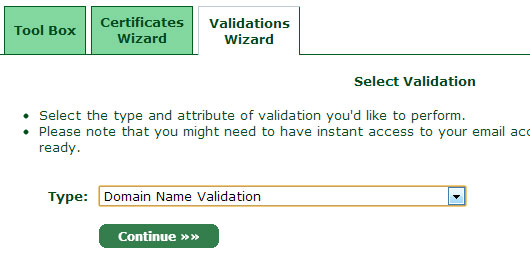 Generate Certificate
Head over to the Certificates Wizard and select Web Server SSL/TLS Certificate as Certificate Target, then hit Continue.
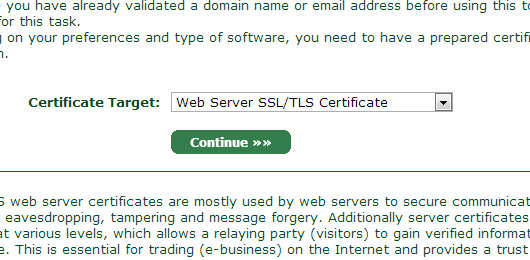 Skip generation of private key since we already created one earlier via openssl.
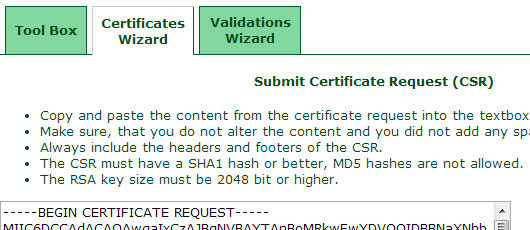
Submit CSR, this would be domain.csr – the one generated earlier with openssl. Open domain.csr in a plain text editor and copy all the contents in it. Make sure you don’t alter anything on the text. If your CSR was generated as required, you should get a Certificate Request Received message.
Click Continue, the window will prompt that the certificate request has been received, click Continue again to proceed.
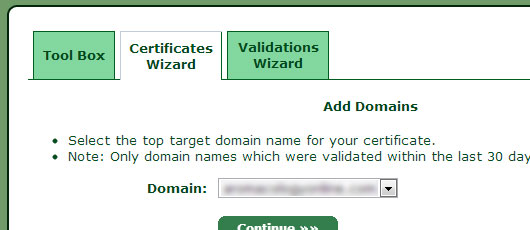
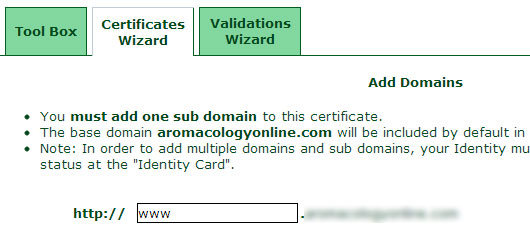
 On the certificates wizard continue by adding a domain, choose the domain you are configuring for.
 Then add a sub-domain, this is usually “www” but it can be another sub-domain depending on your configuration. Remember, you can only validate for only one sub-domain since this is not a wild-card SSL certificate.
 Your certificate at this point should be ready to be processed. Click Continue to proceed.
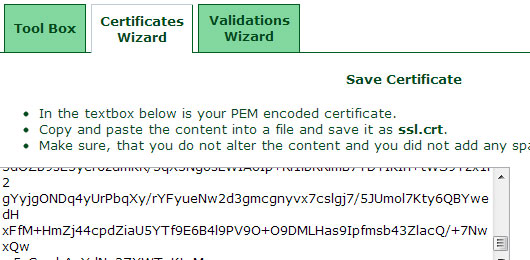
Save your ssl certificate by copying this on a plain text editor like Notepad++, make sure there are no excess spaces etc. Save copied text as ssl.crt.
 You are done generating the required key files and ssl certificate, but we are not done yet. Next is installing this certificate to our nginx web server.
Installing the SSL Certificate and Configuring the nginx Server
Now we need to install the certificate and configure nginx to serve through the correct port. Start by decrypting the private key by using the password you entered earlier.openssl rsa -in domain.key -out /home/user/ssl/ssl-out.keyNote that I arbitrarily chose where I wanted to place the ssl key and certificate, you can place this anywhere you like as long as it can’t be accessed by web traffic or the public. Ensure that the key is protected.
chmod 600 /home/user/ssl/ssl-out.keyFetch the Root CA and Class 1 intermediate Server CA certificates:
wget http://www.startssl.com/certs/ca.pem
wget http://www.startssl.com/certs/sub.class1.server.ca.pem
Create a unified certificate from your certificate and the rest of the CA certificates.
cat ssl.crt sub.class1.server.ca.pem ca.pem > /home/user/ssl/ssl-uni.crtOpen the corresponding nginx virtual host configuration and make the necessary edits. Add the following entries in the server module:
server {
listen 80;
listen 443; ssl on; ssl_certificate /home/user/ssl/ssl-uni.crt; ssl_certificate_key /home/user/ssl/ssl-out.key;
server_name your.domain.com;
...
You are done! For security’s sake, please make sure that ssl-uni.crt and ssl-out.key are placed outside a folder not accessible by the public (usually outside public_html).
]]>